Diamond Features: Structure picture display
Go to Diamond Features Overview
Previous: Automatic and batch structure picture creation
Next: Manual building and designing of a picture
Rendered Representation
Diamond uses the MS Windows implementation of the OpenGL graphics library for rendered representation.
This gives you a lot of possibilites to display photo-realistic shaded models with user-defined light sources,
materials properties and optional transparency if wanted. Of course the common old-style drawing mode (the flat representation),
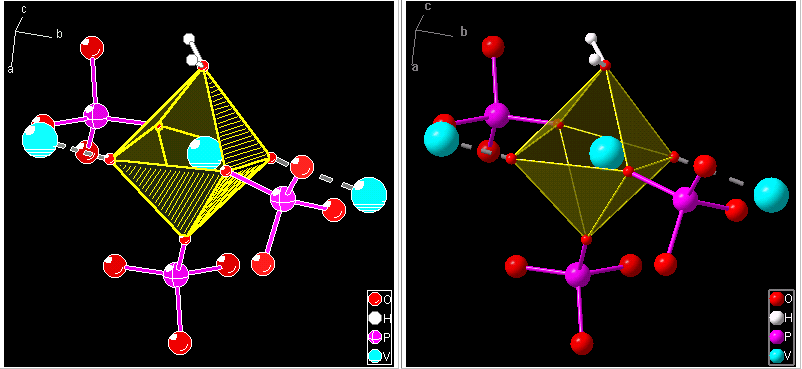
which is more useful for black-on-white printouts, is also supported. The following illustration compares flat (left) and rendered (right) representation of the same structure picture:
Models and thermal ellipsoids
In Diamond versions 1 and 2, the model (ball-and-stick, space-filling, wires, or sticks) was still a global
setting. Since version 3 it can be assigned individually to selected atoms. That means you
can display ball-and-stick, space-filling, ellipsoid, and sticks or wires in
one and the same picture.
While Diamond versions 1 and 2 had also the limitation that ORTEP-like styles (ellipses and open
octants) could only be displayed in flat mode but not in rendering mode,
where solid ellipsoids are displayed instead.
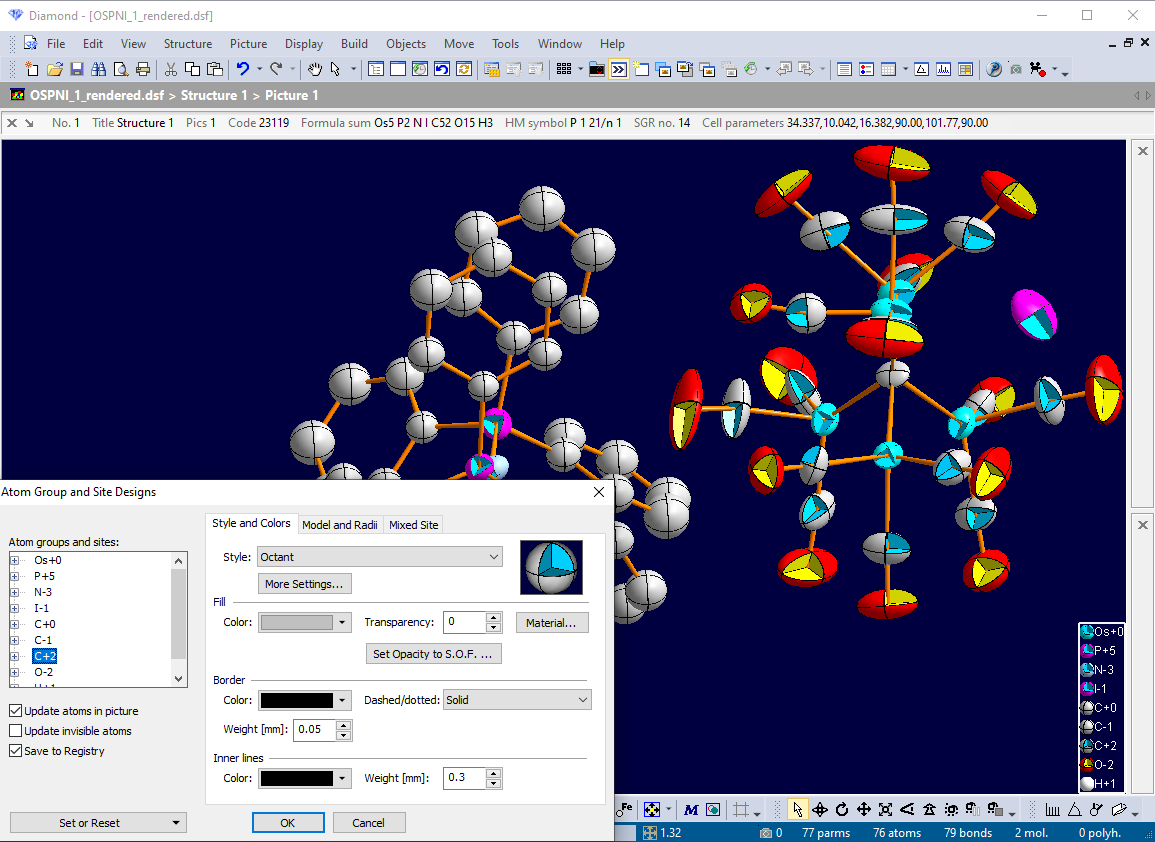
Since Diamond 3 you have the opportunity to display these styles even in rendering
mode with variable line weights for the ellipses and colors for
the octant walls. This may be important for instance, if
you need to distinguish atom types in black-on-white printings of a
rendered structure picture. Like all atom designs, these styles may be assigned
to atoms groupwise or individually.
The variation of colors, styles and radii is possible on atom group or even atom site level. Besides this, you can assign an individual
design to a single atom or to a selected set of atoms.
In a similar way, bonds or contacts can be assigned styles, colors, and radii on bond group level (atom type pairs) or individually.
The radii of atoms as well as thick bonds
can be adjusted using the mouse wheel.
Broken-off and fragmentated bonds (or contacts)
The so-called "broken-off" bonds are usually used to display an infinitesimal framework, that means especially for inorganic 3D frameworks or layer structures.
If you cut a bond into pieces each with the same length and with voids between having the same size, you get what Diamond (and at least SCHAKAL) calls a "fragmentated" bond.
Fragmentation can be applied to both thin and thick bonds.
Bonds can also be designed two-colored, with the colors of the atoms on the bond ends each.
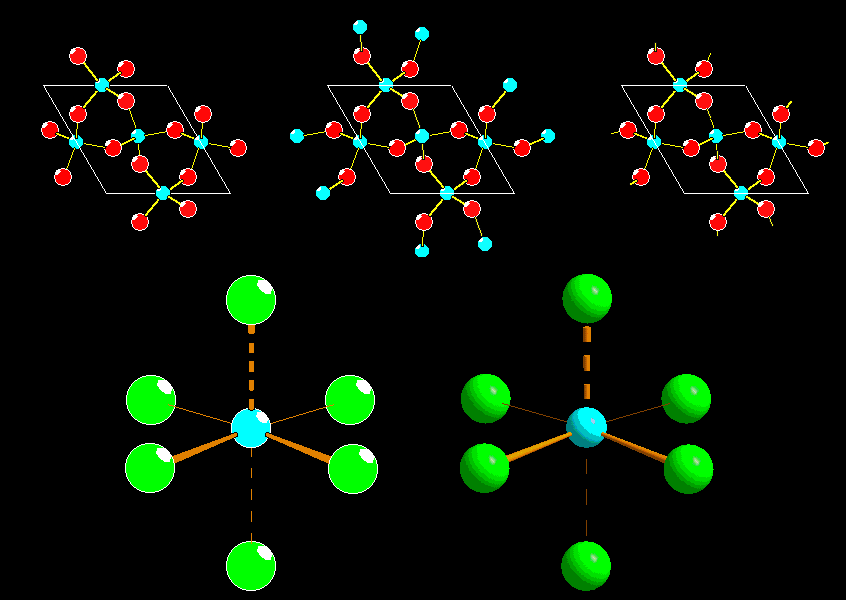
Broken-off bonds in the upper row on the right side, fragmentated bonds for flat (left) and rendered represenation (right) in the lower row.
Layouts for special targets
The so-called window layout is the default setting and is generally most appropriate for creating and editing of structure pictures.
The size of the drawing area is arbitrary and determined by the current with and height, in pixels, of the structure picture pane.
With the bitmap layout setting, you can precisely define the size and the resolution (dpi) of the bitmap on which the structure picture shall be drawn.
If the size (in pixels) is larger than the drawing area on the screen, rulers will appear to its right and/or bottom.
This setting is generally advantageous if you would like to create a bitmap which shall be exported to a file later on to be used in other programs.
The printout page layout is similar to Bitmap layout, with the exception that you define the size of the paper
on which you would like to print rather than the size and resolution of a bitmap.
You can also use the page setup of your currently selected printer to select the paper size, e.g. A4 page size with white background.
You can define a zoom factor, if you want to "zoom" into your bitmap/page for a better view of details.
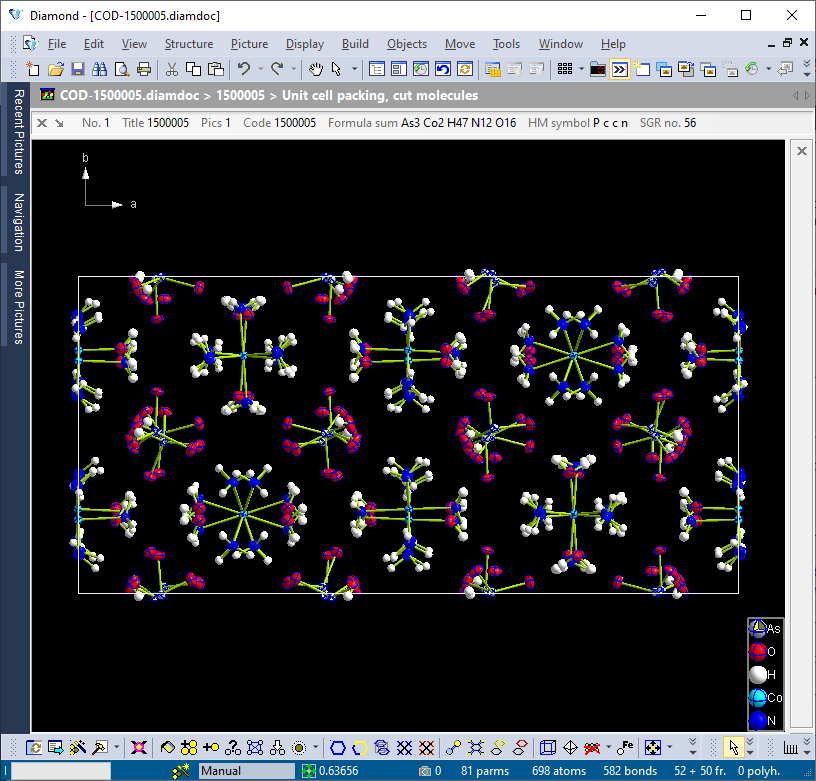
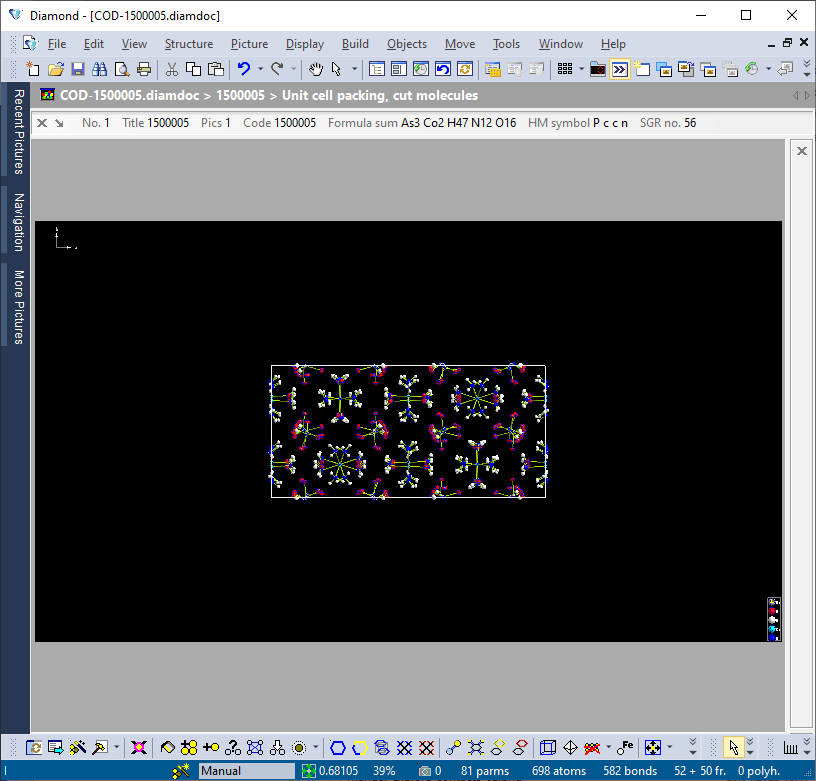
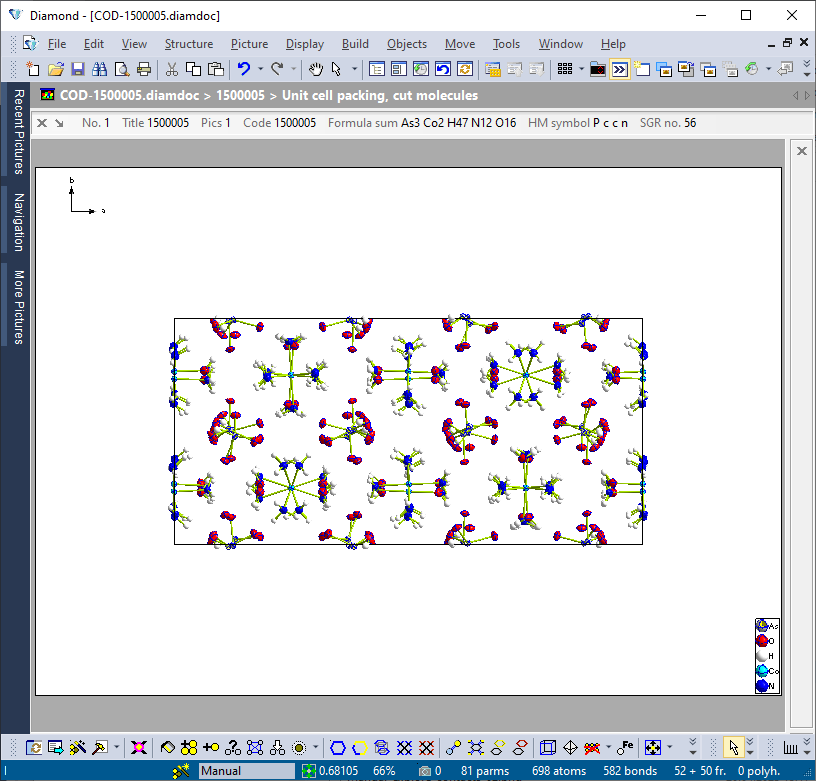
The three layout settings in Diamond: Regular "window" layout (top), "bitmap" layout, "printout page" layout (bottom).
Design schemes
Design schemes (a kind of style sheets) contain picture design and viewing settings for quick-and-easy application to other structure pictures.
A design scheme contains some basic picture design settings plus optionally the whole current design and viewing settings of a structure picture.
Definition of views along special axes or toward special planes
You can define a view along the a, b, or c axis of the unit cell, or along the x, y, or z axis of the reference coordinate system, or along an arbitrary direction. Or define a view axis through two selected atoms.
Representation of atoms on defect or mixed sites
Optionally adjustment of atoms' and bonds' transparencies to site occupation factors.
Optionally random distribution of mixed sites' components.
More visualization features
- Central or parallel projection, depth cueing, and stereo display.
- Labelling of atoms and bonds.
- User-defined text that can be placed at arbitrary
positions of the picture.
- Definition of (transparent) lattice
planes and (best) planes or lines through selected atoms.
-
Adding of vectors to atoms to indicate e.g. a magnetic moment.
-
Alternative color differentation to visualize oxidation numbers, site
occupation factors etc.
- Full screen view (with
window frame, menu, toolbars hidden).
Go to Diamond Features Overview
Previous: Automatic and batch structure picture creation
Next: Manual building and designing of a picture
|